Cloudflare R2
Steps
Step 1
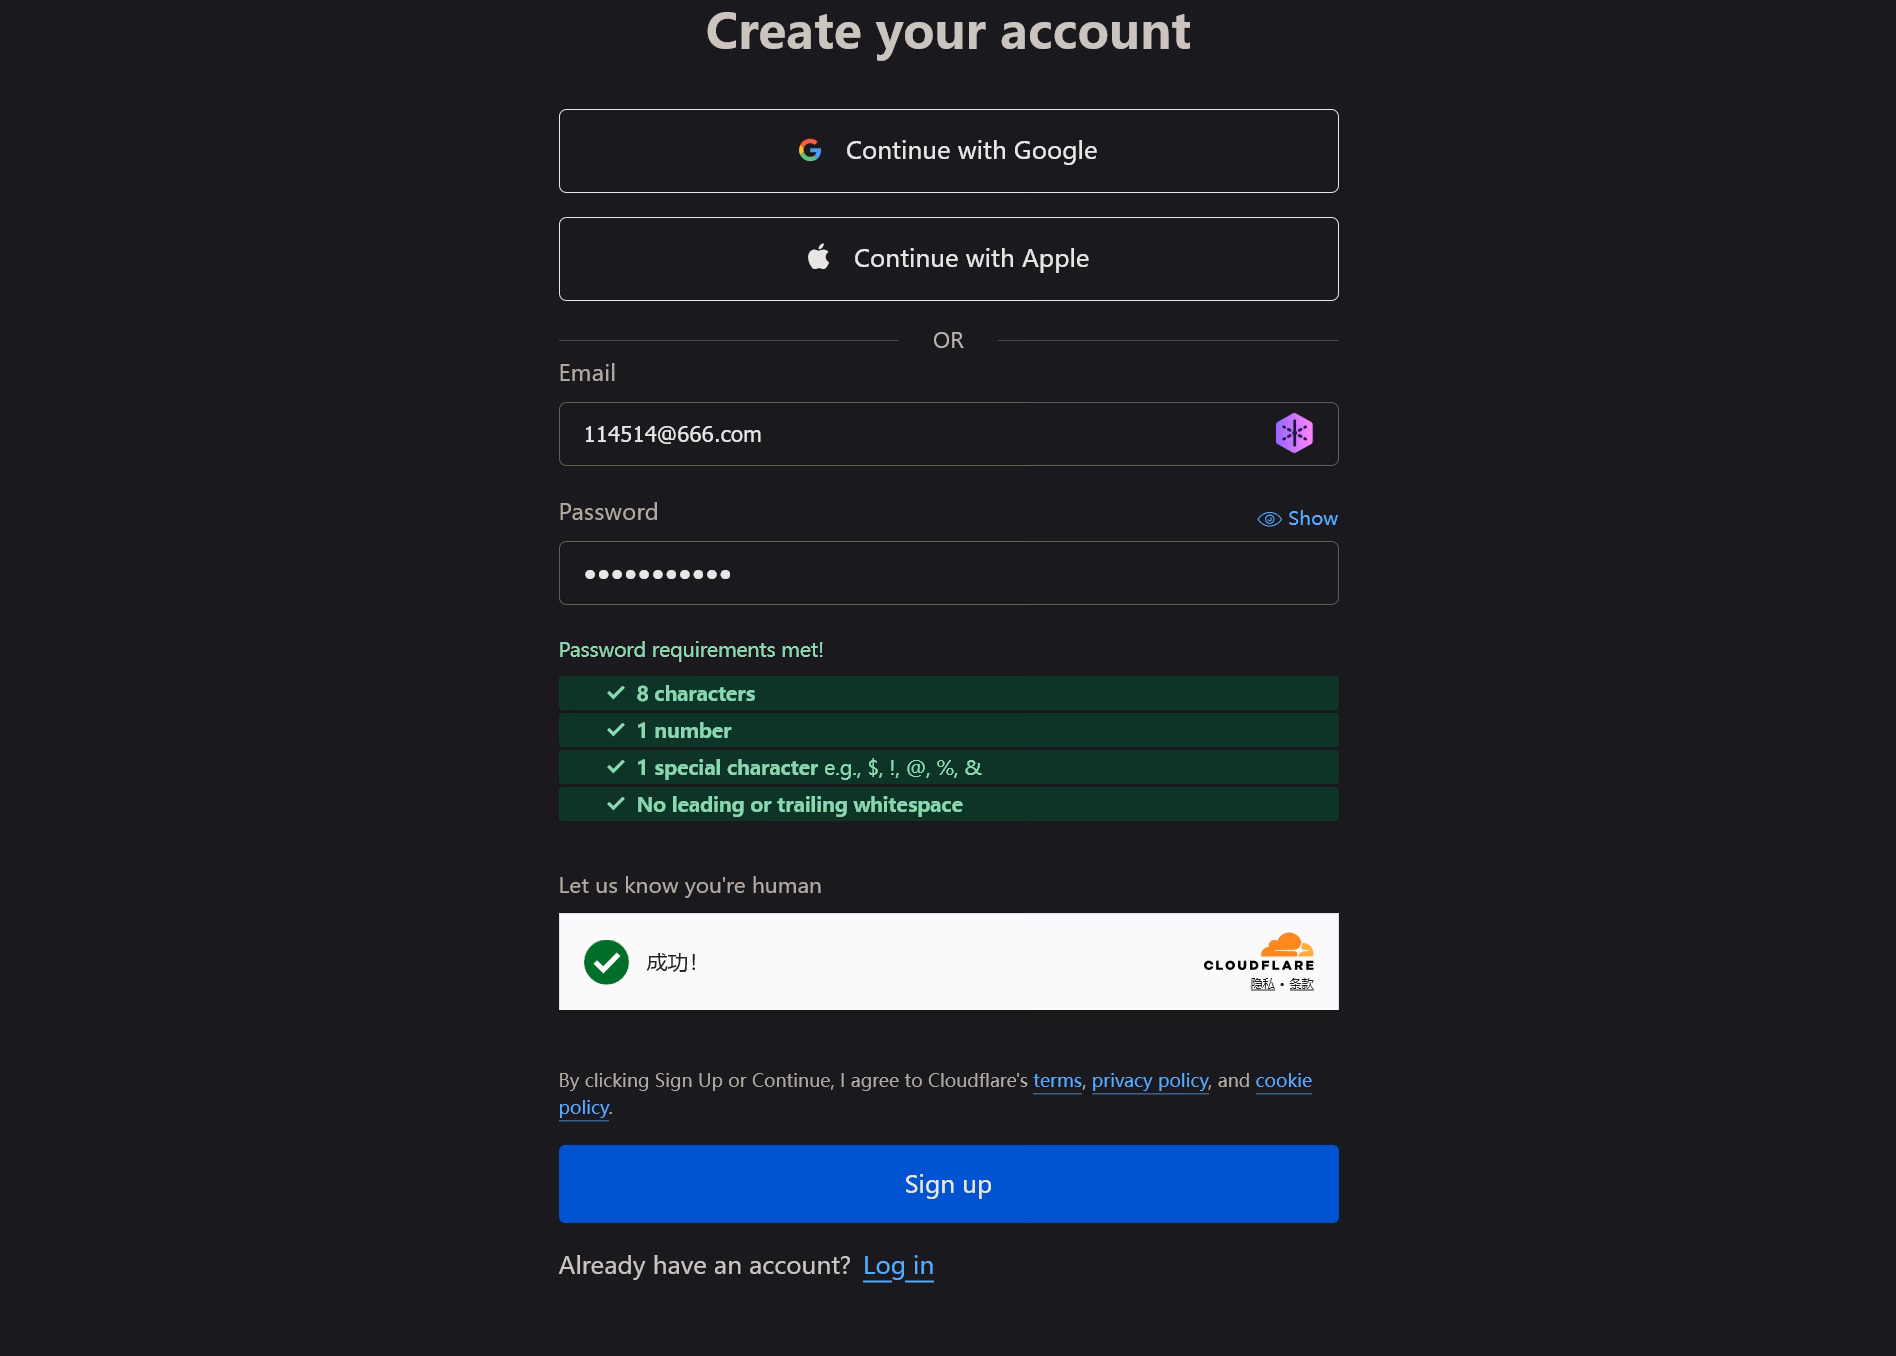
Create a Cloudflare account by visiting https://dash.cloudflare.com/sign-up to complete registration, then log in to the account homepage.
Step 2
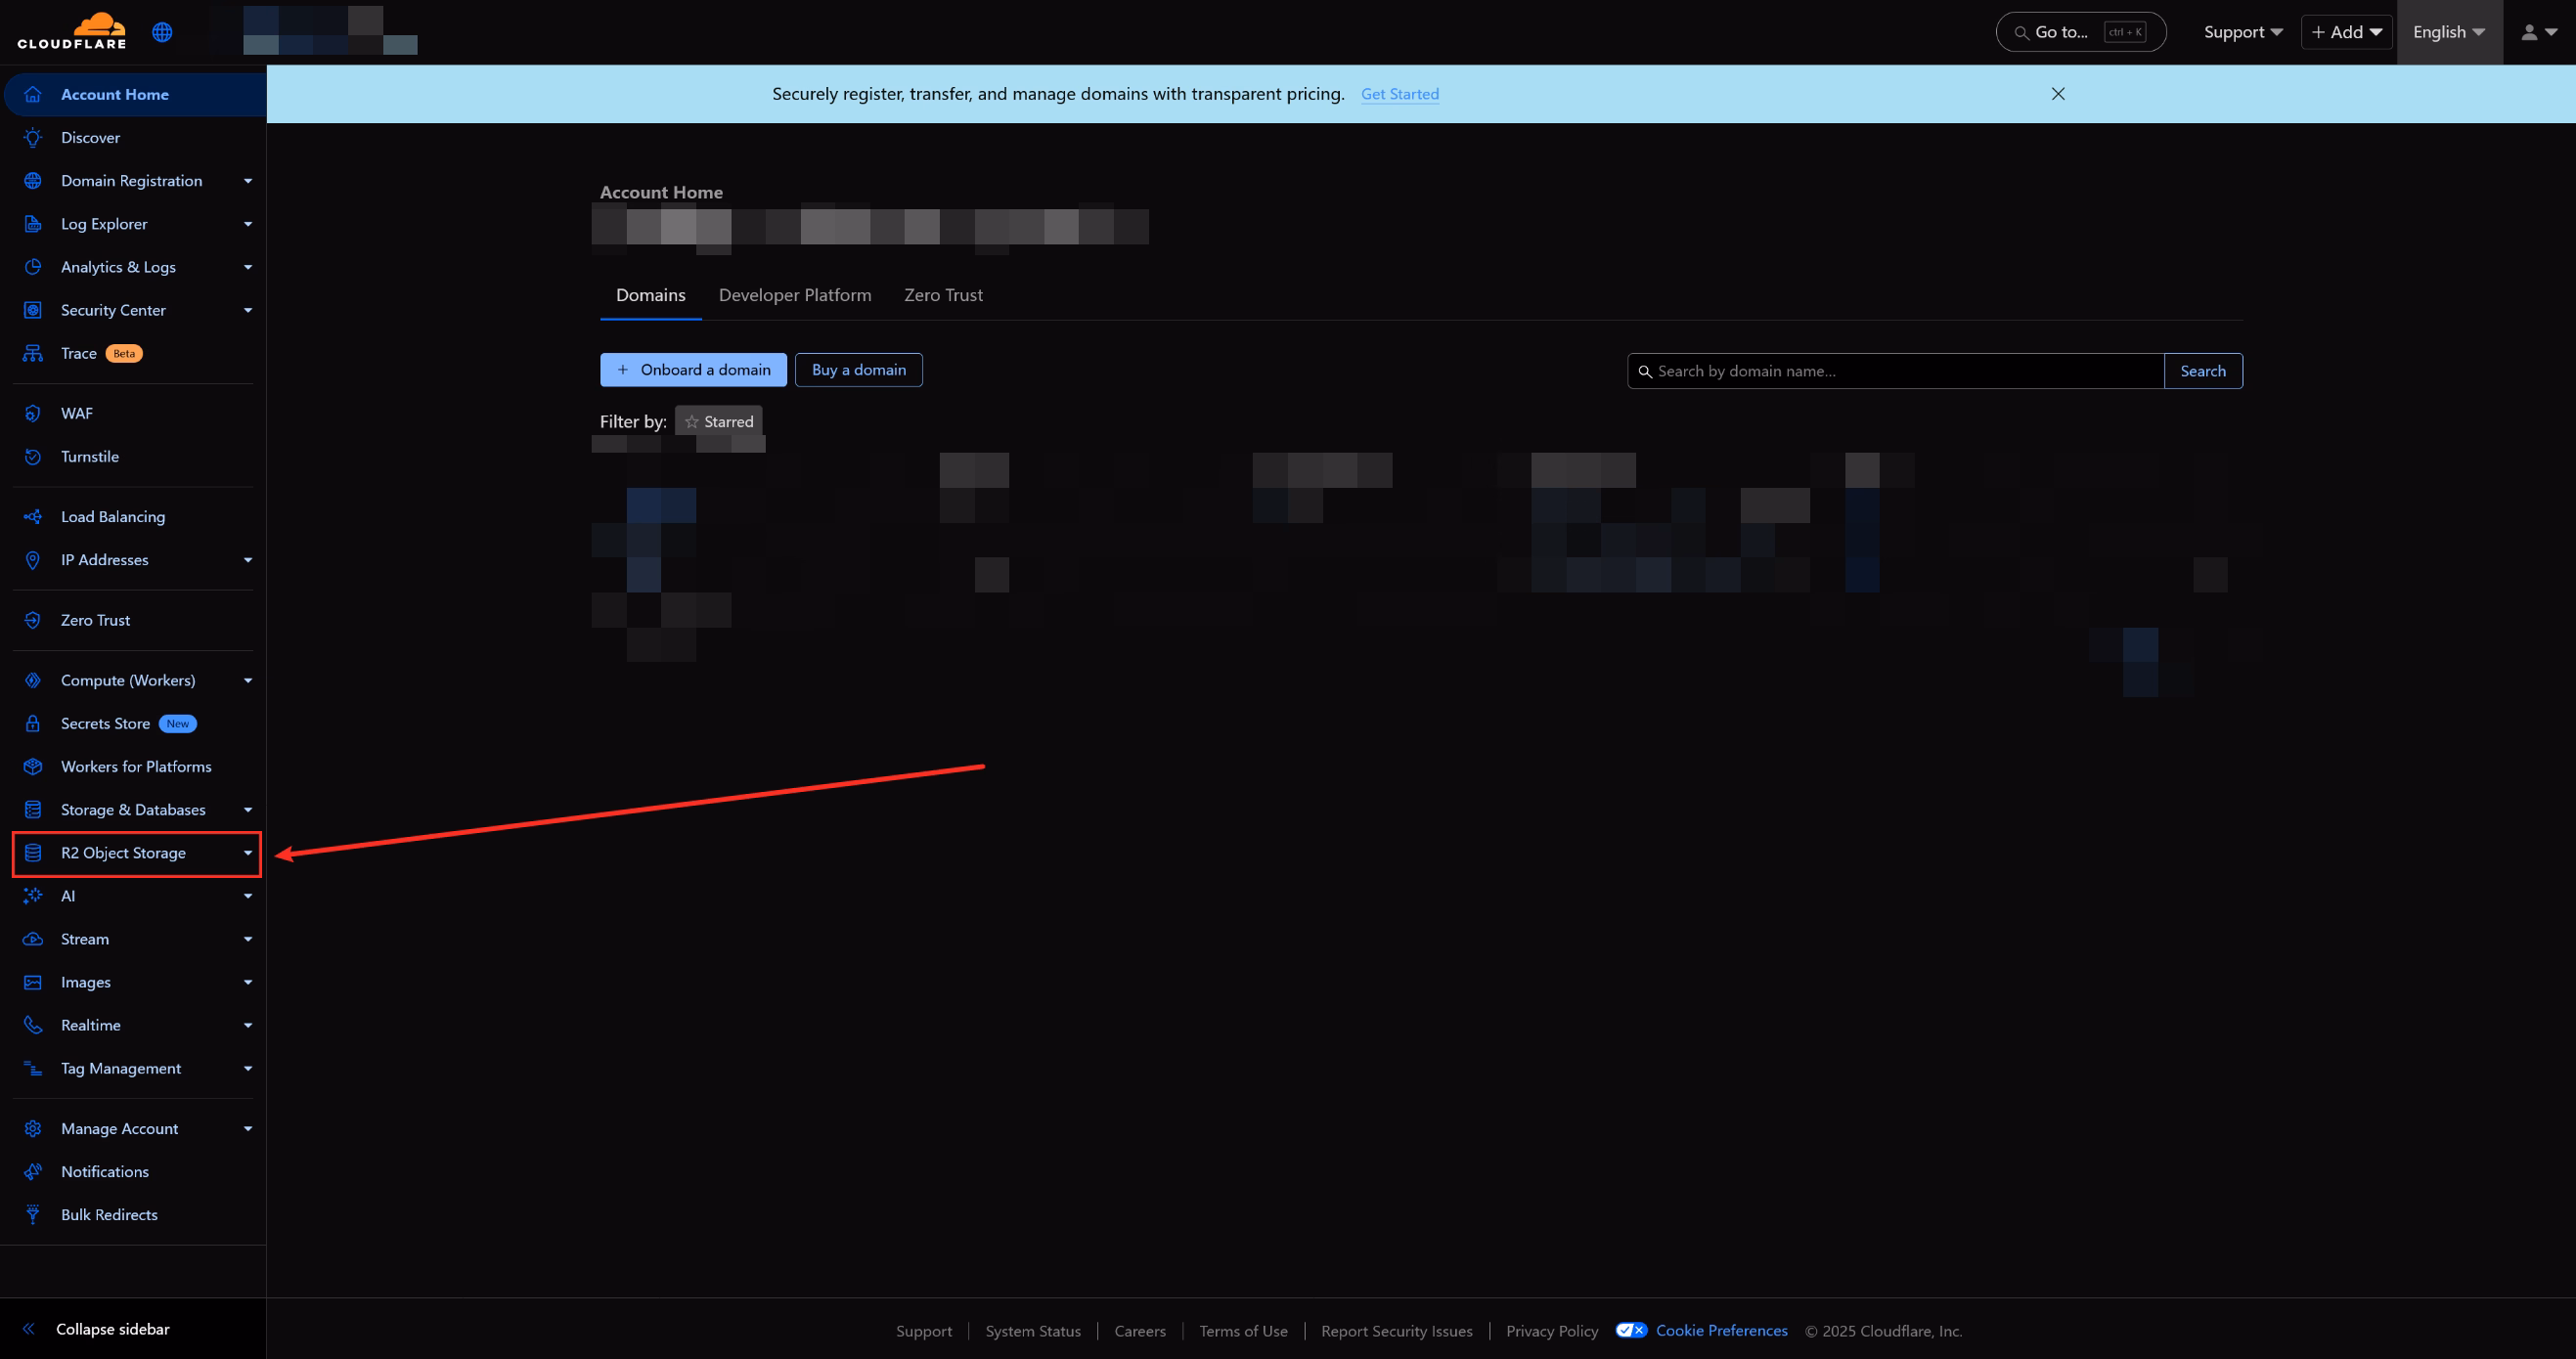
Locate the R2 Object Storage option in the sidebar.
Step 3
Submit a payment method.
Step 4
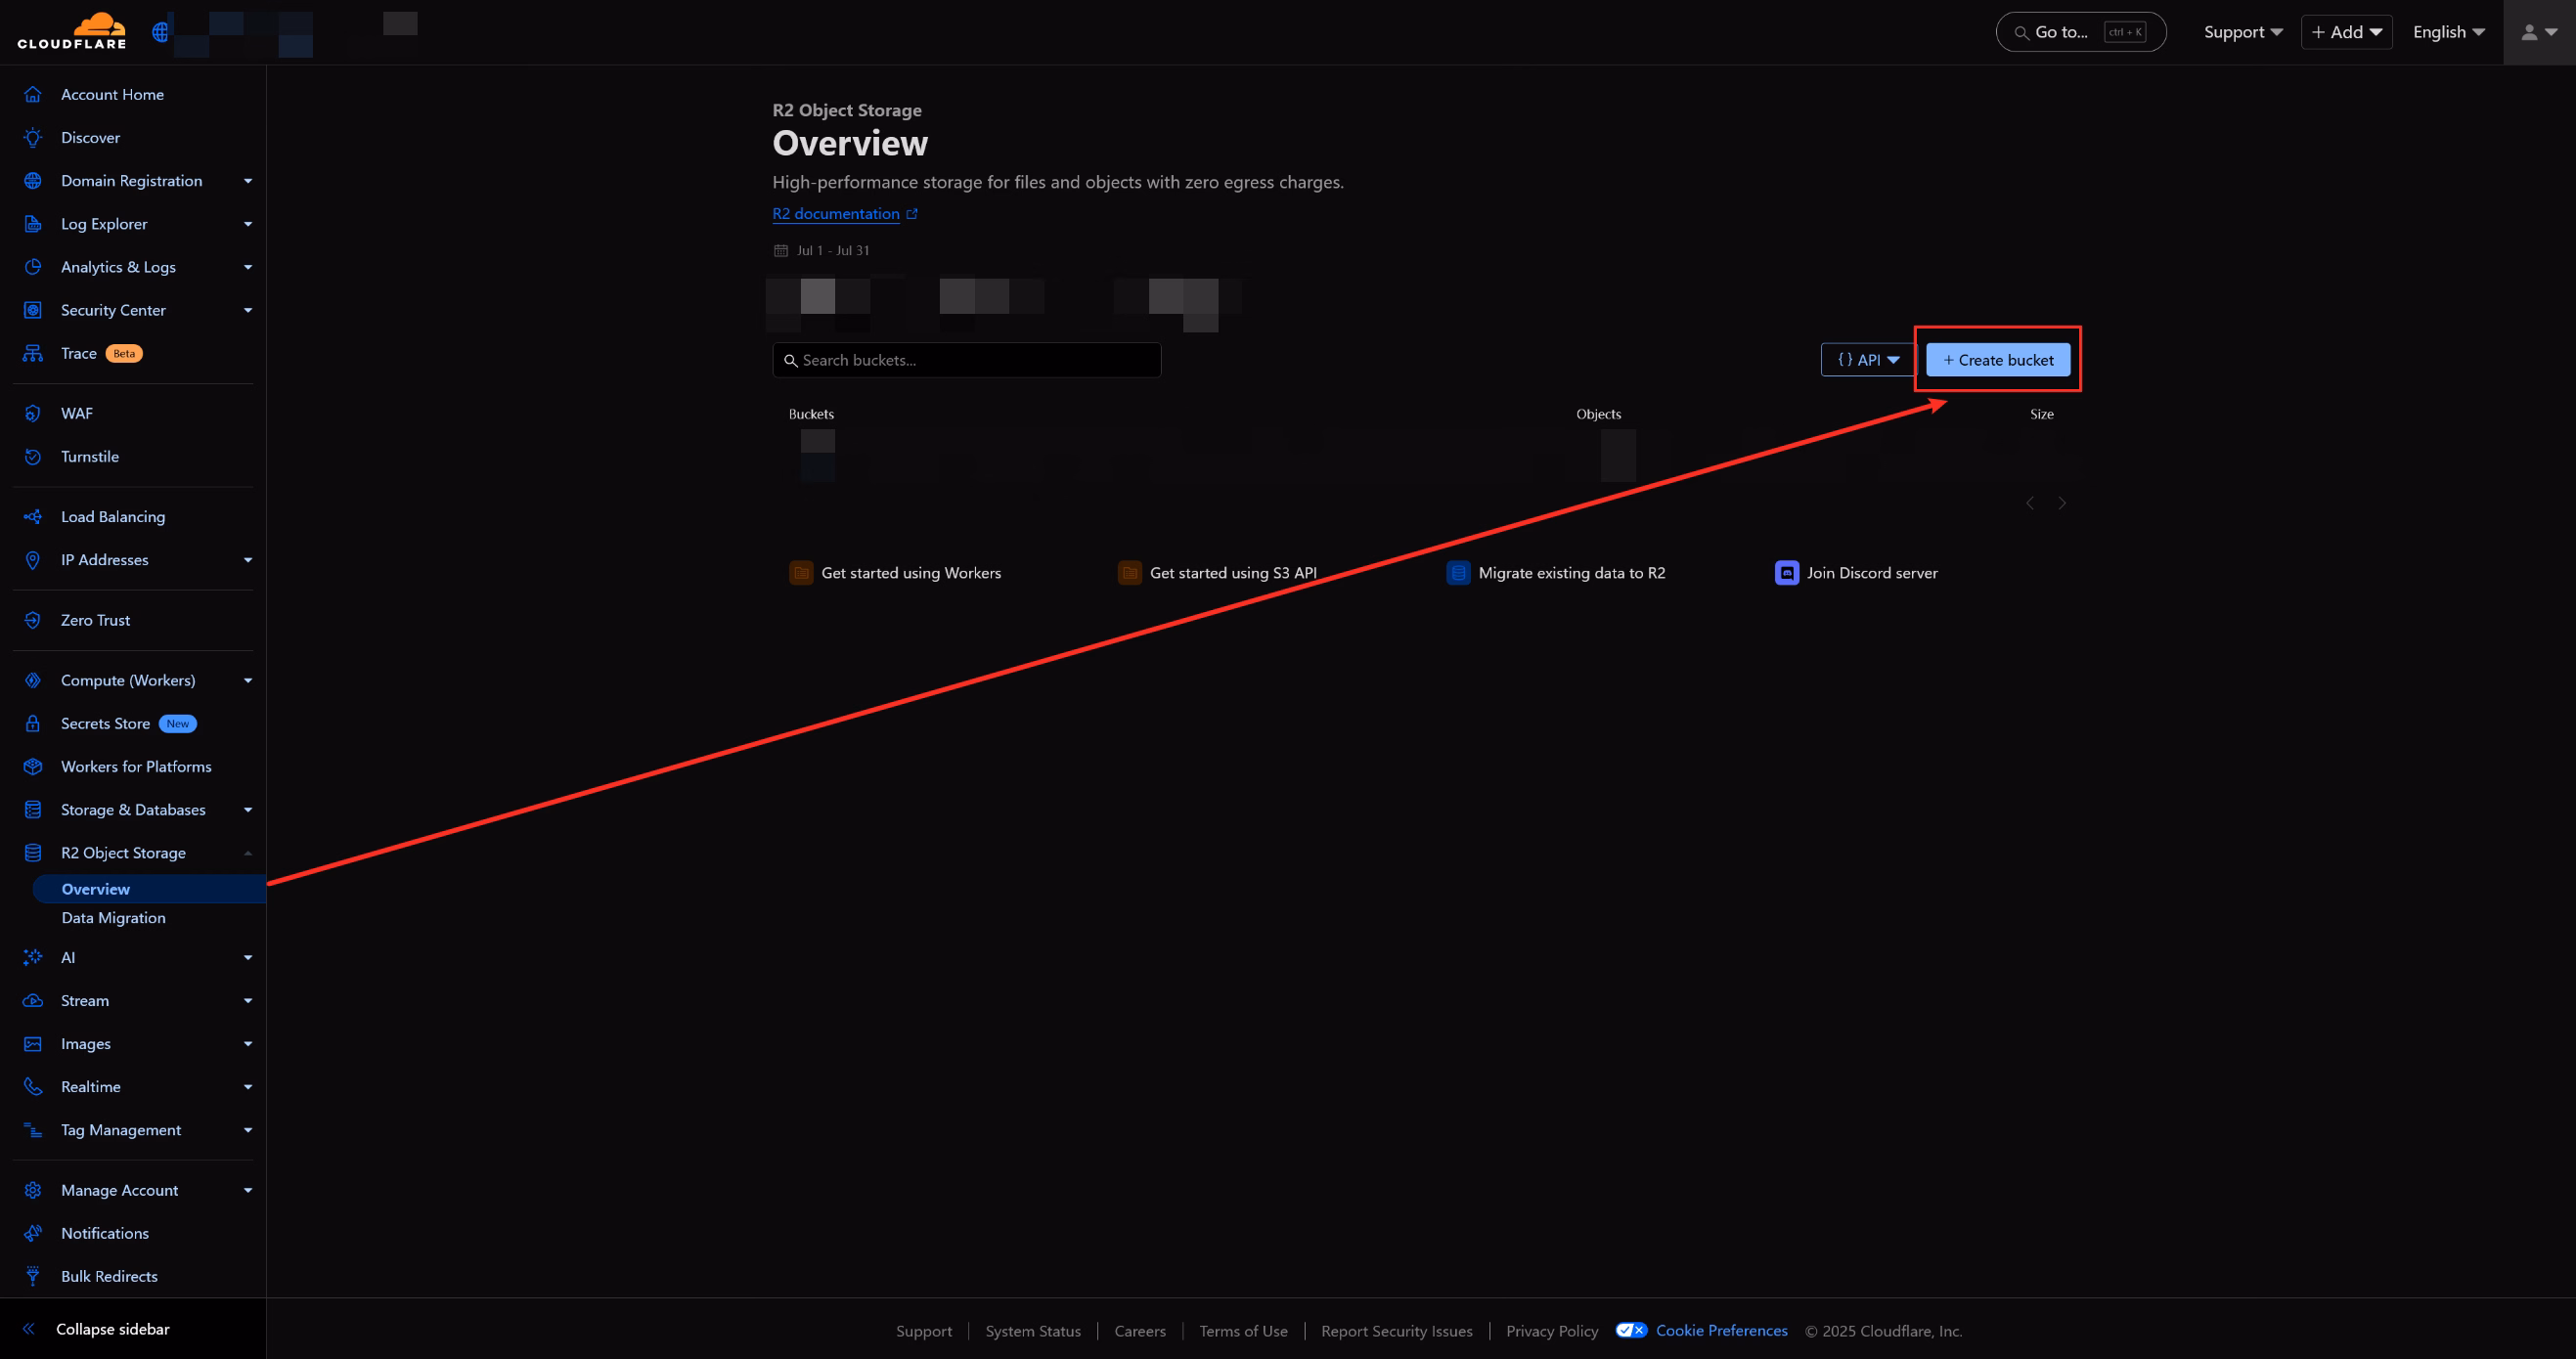
Click the Create bucket button on the right.
Step 5
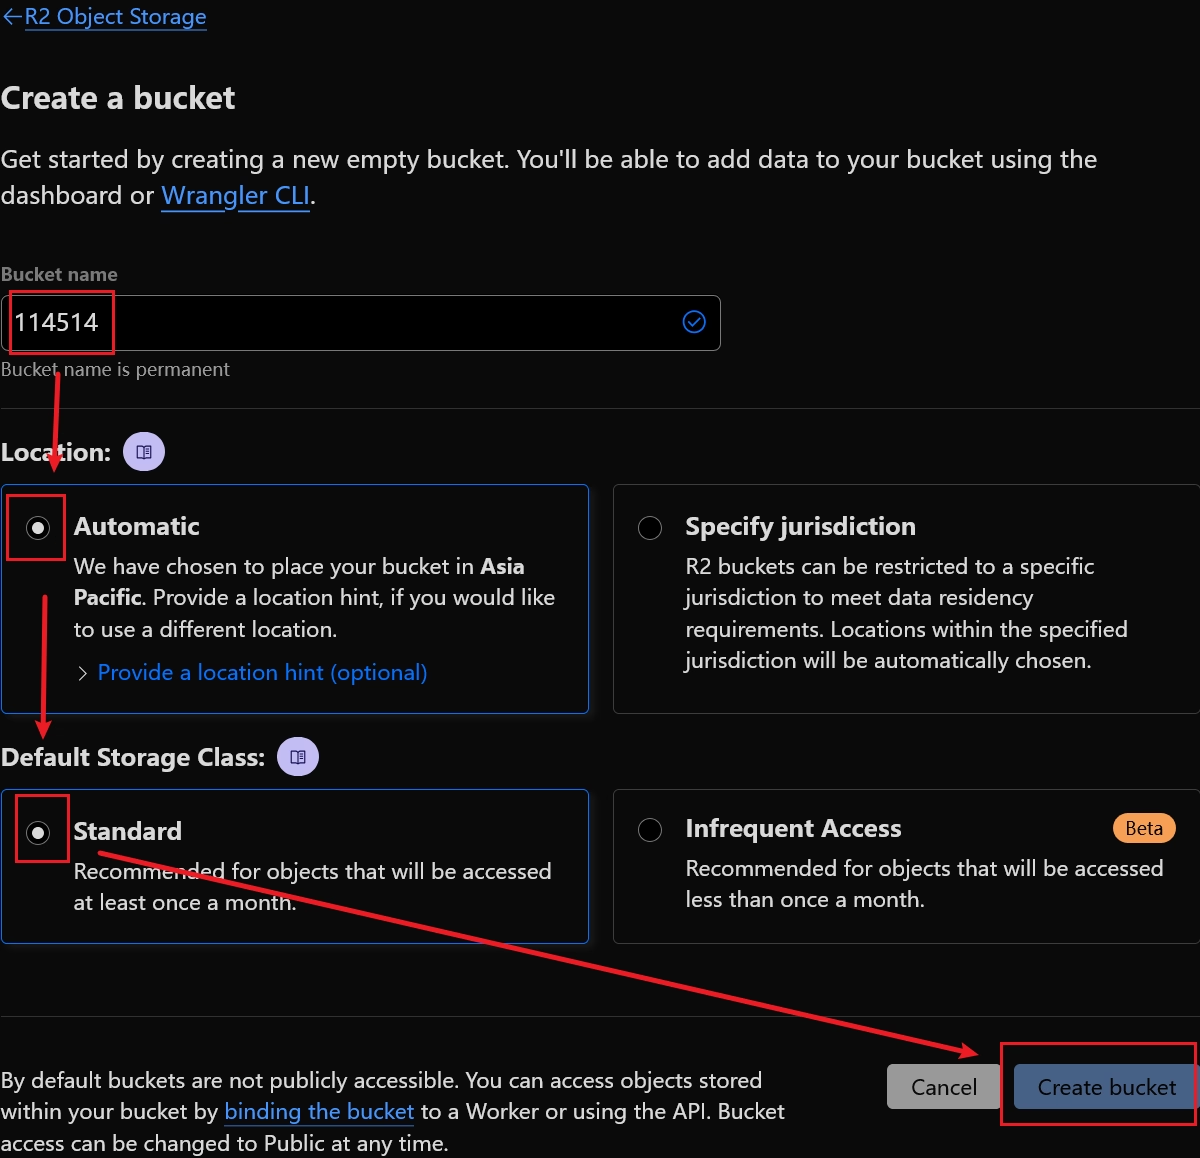
Fill in the bucket name, set the location to Automatic, set the default storage class to Standard, and finally click Create bucket.
Step 6
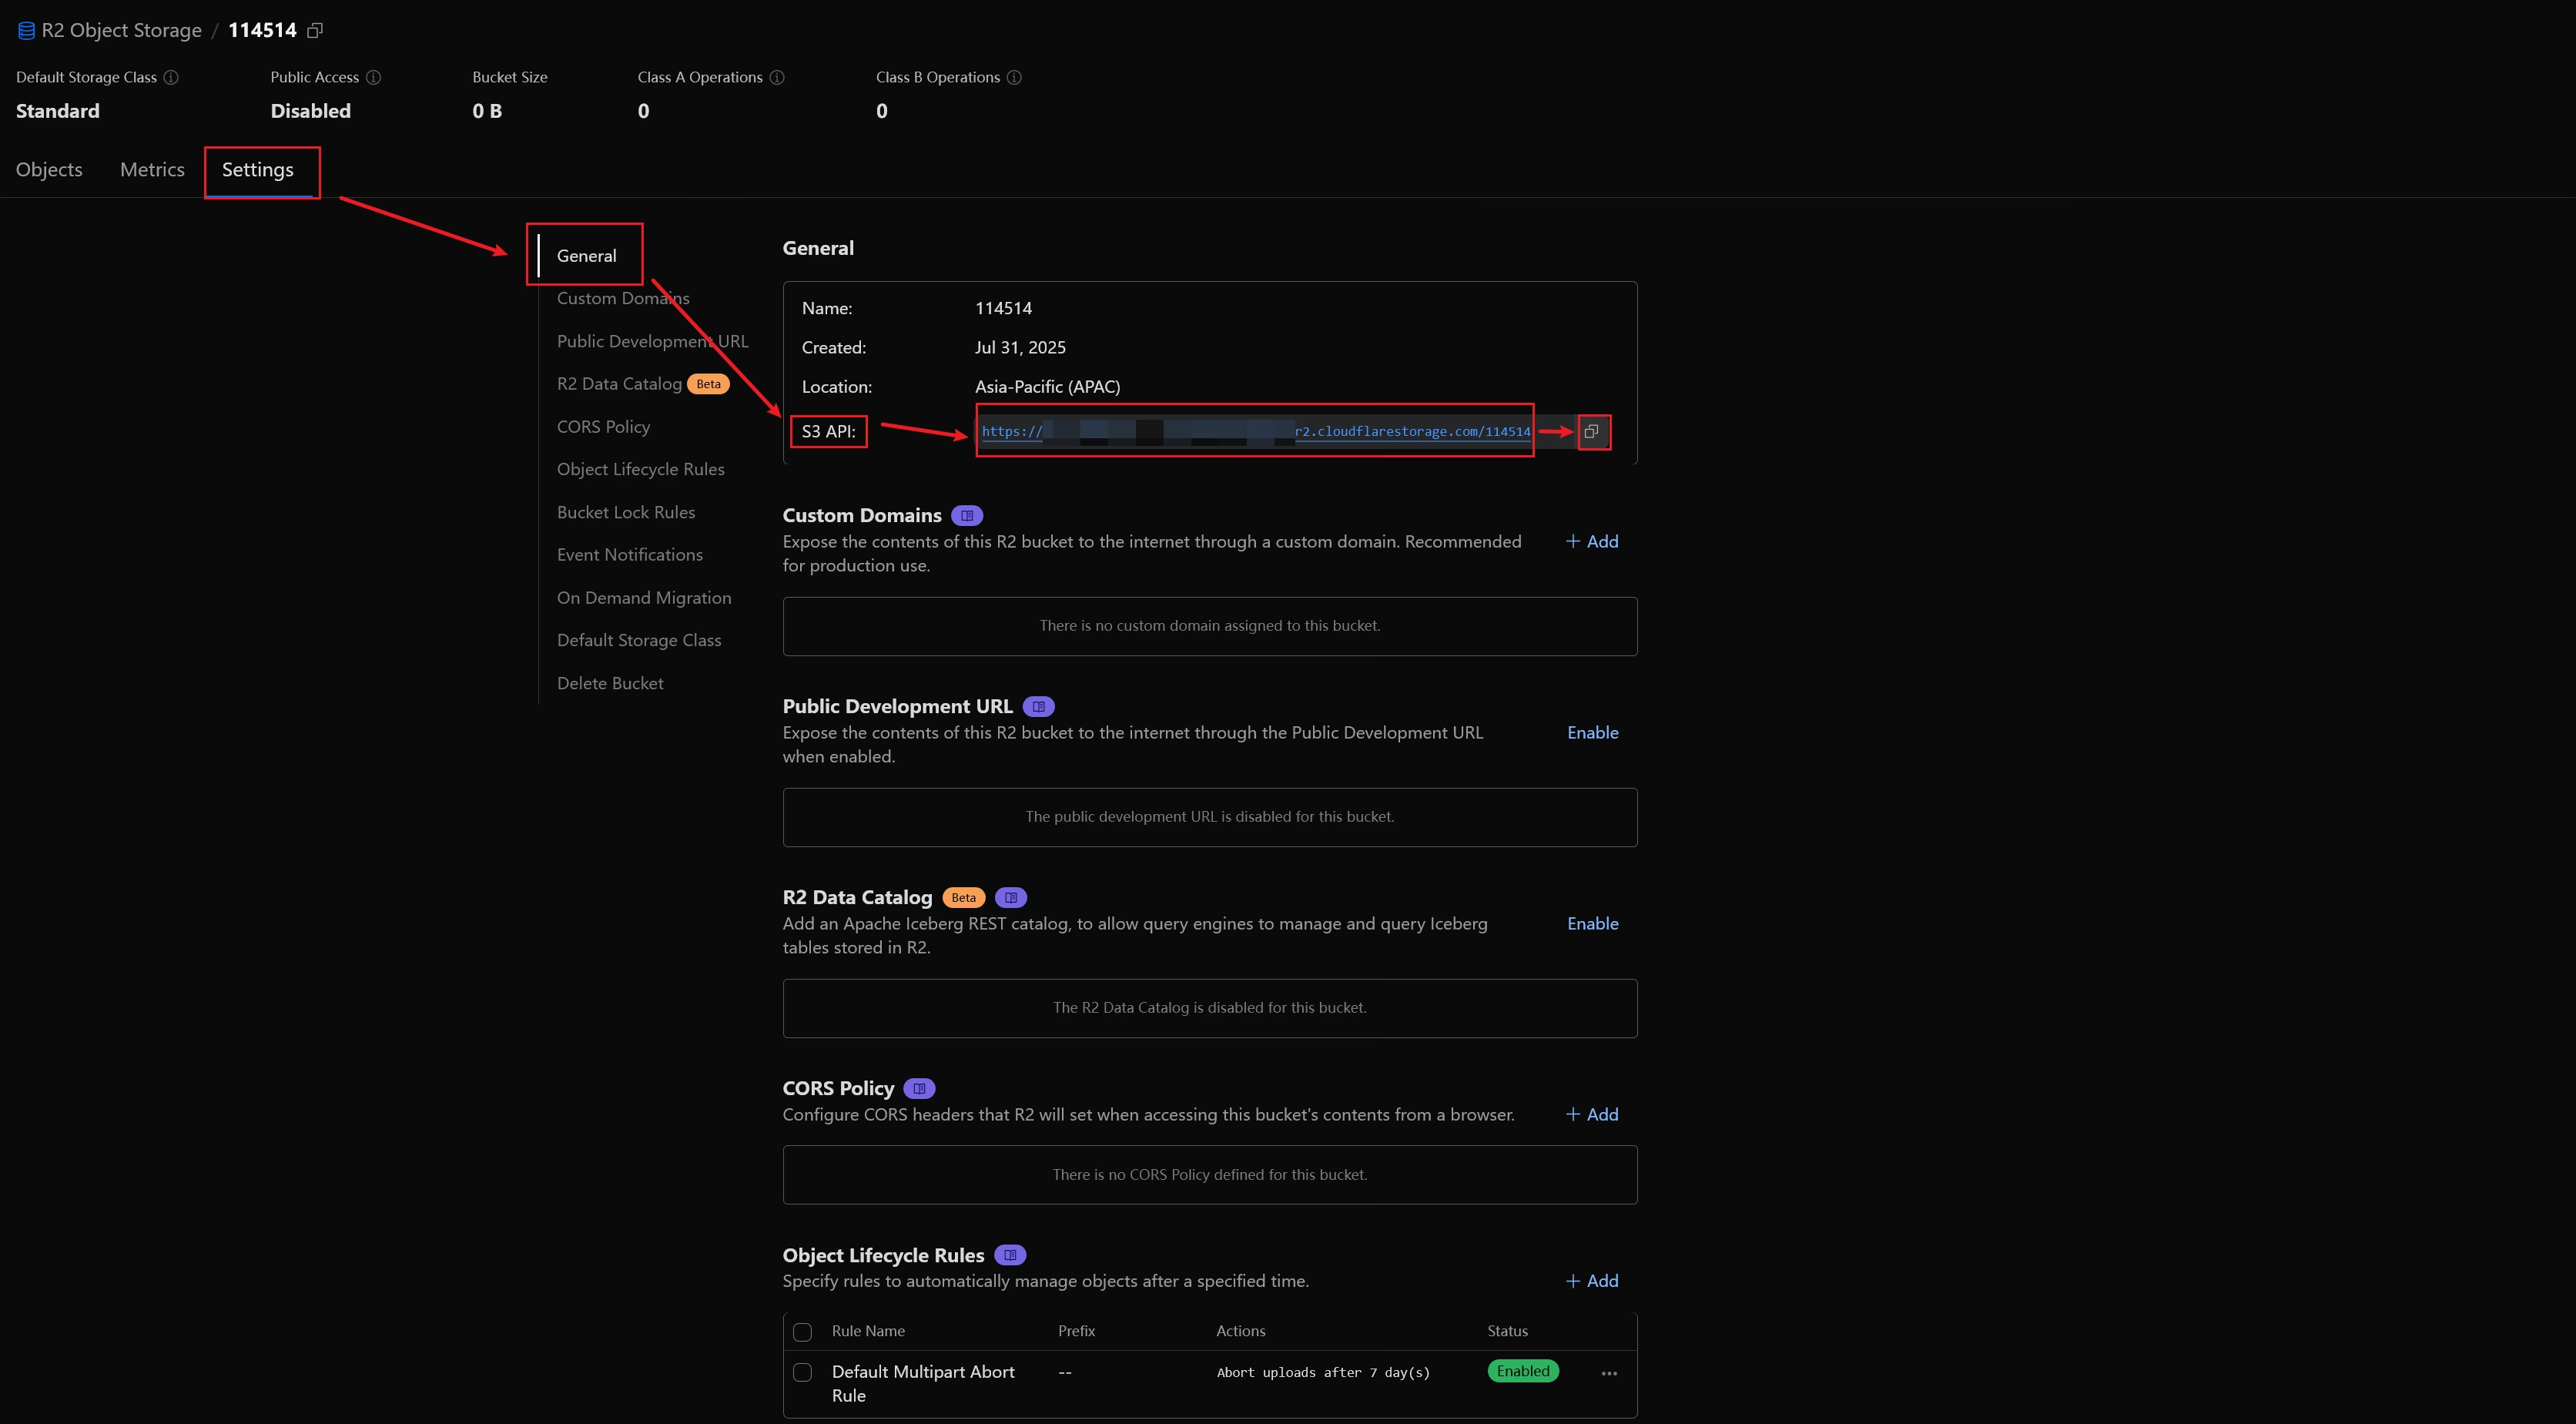
Click Settings, select General, and find the S3 API section. Copy the provided URL.
You should get a URL like: https://4asd4sdas4ds5ds4.r2.cloudflarestorage.com/114514
Here, https will be the value for protocol, 4asd4sdas4ds5ds4.r2.cloudflarestorage.com will be the value for endpoint, and 114514 will be the value for bucket.
Step 7
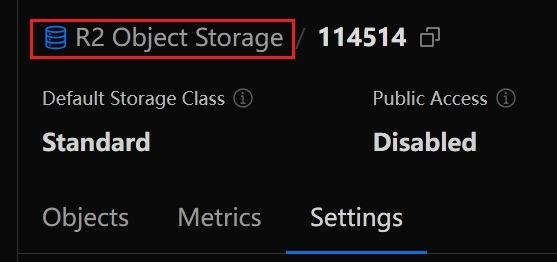
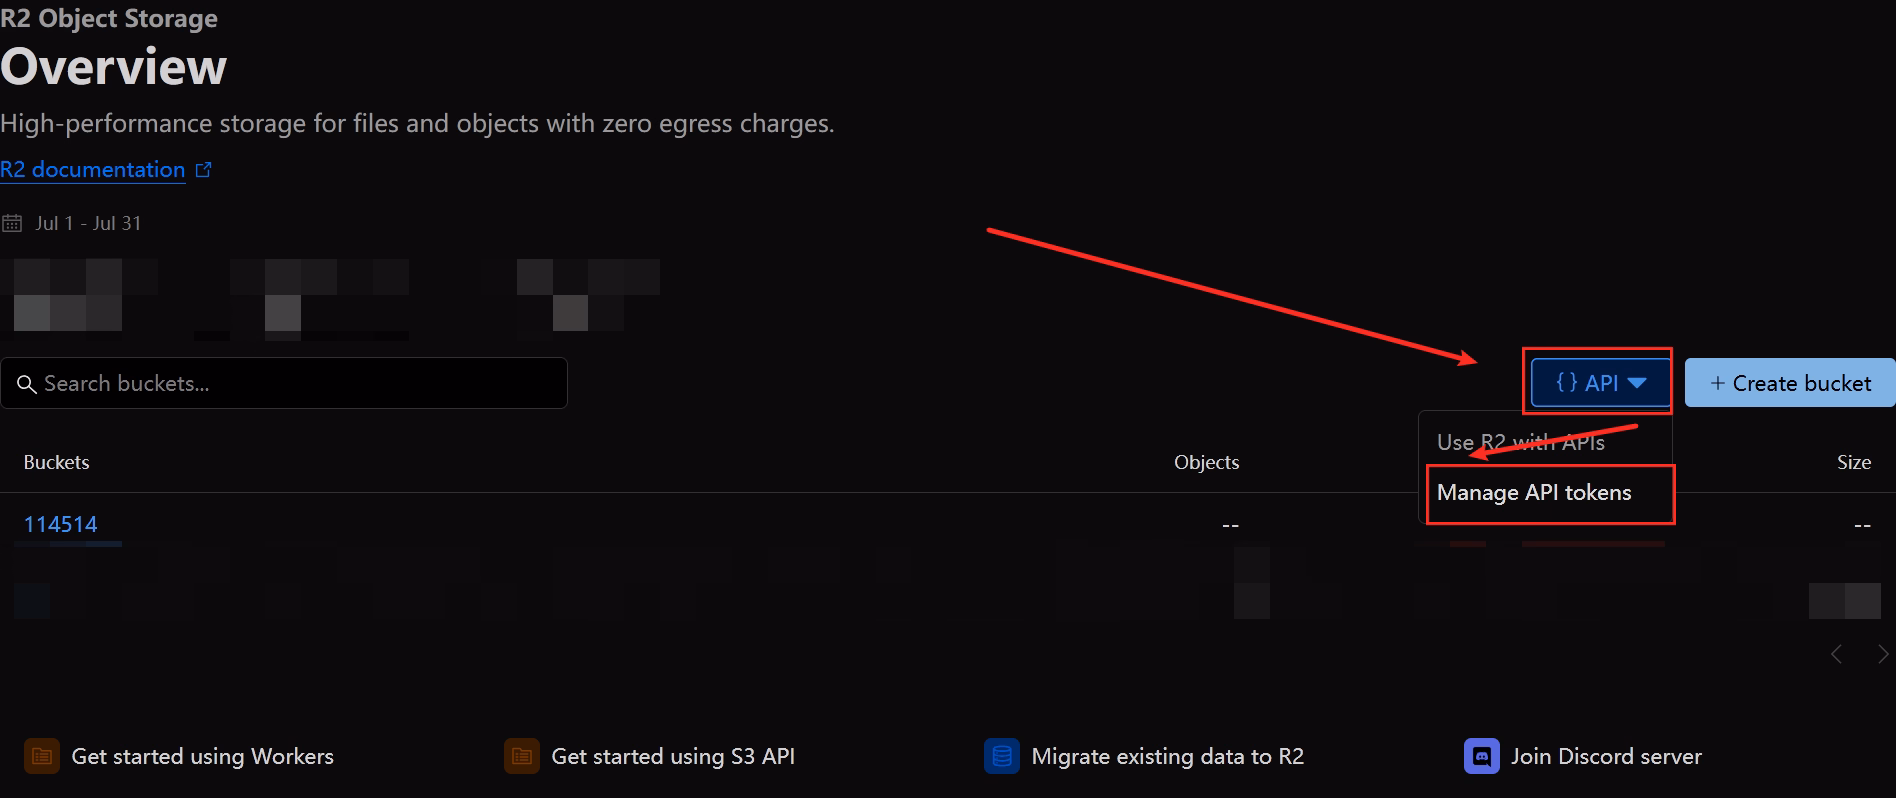
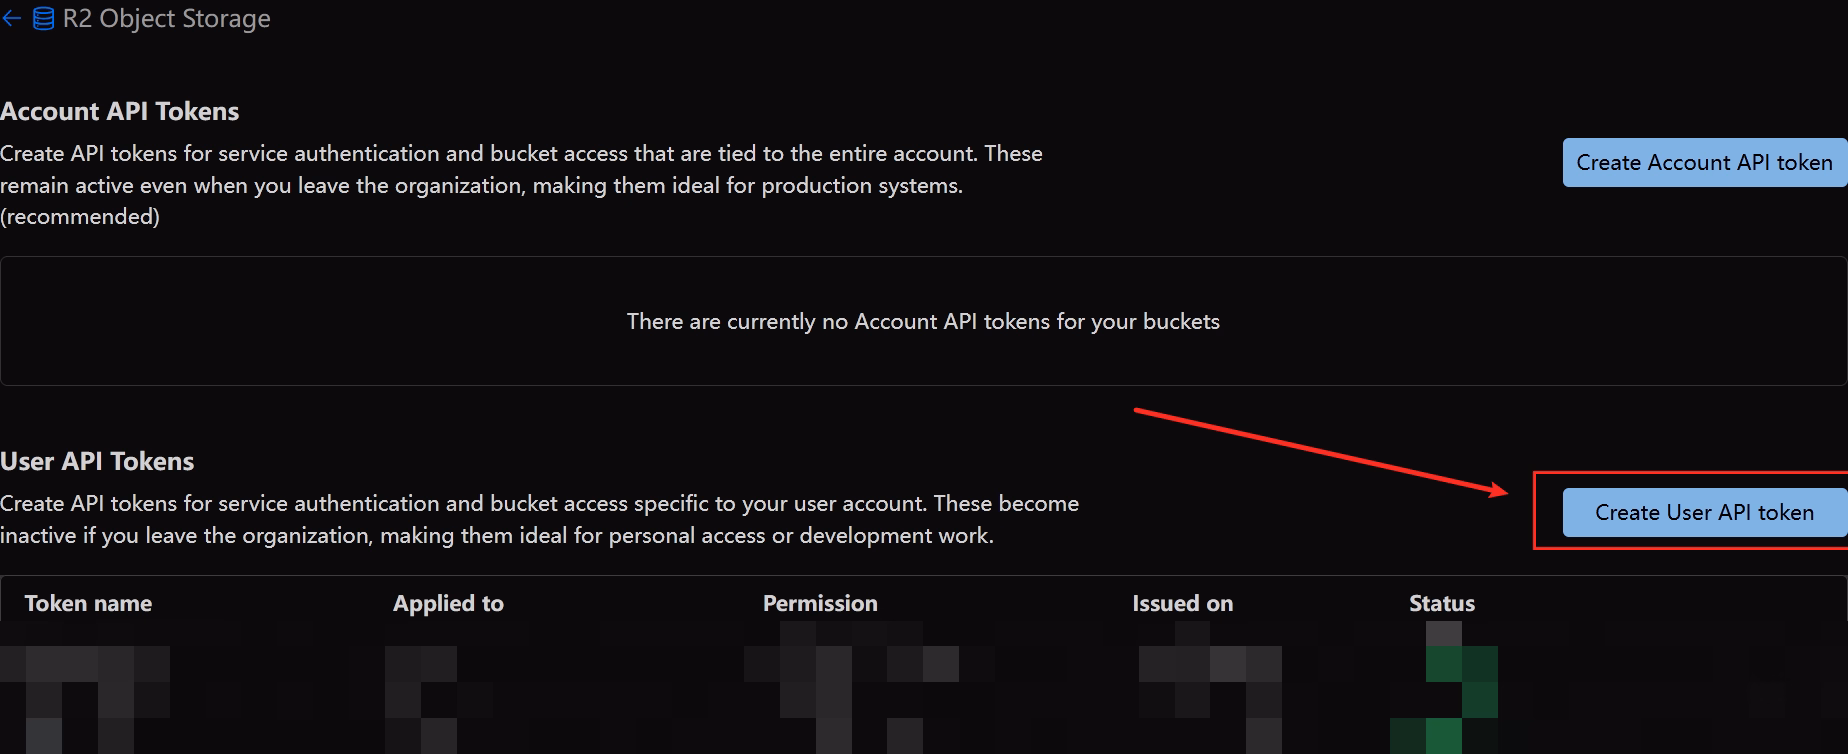
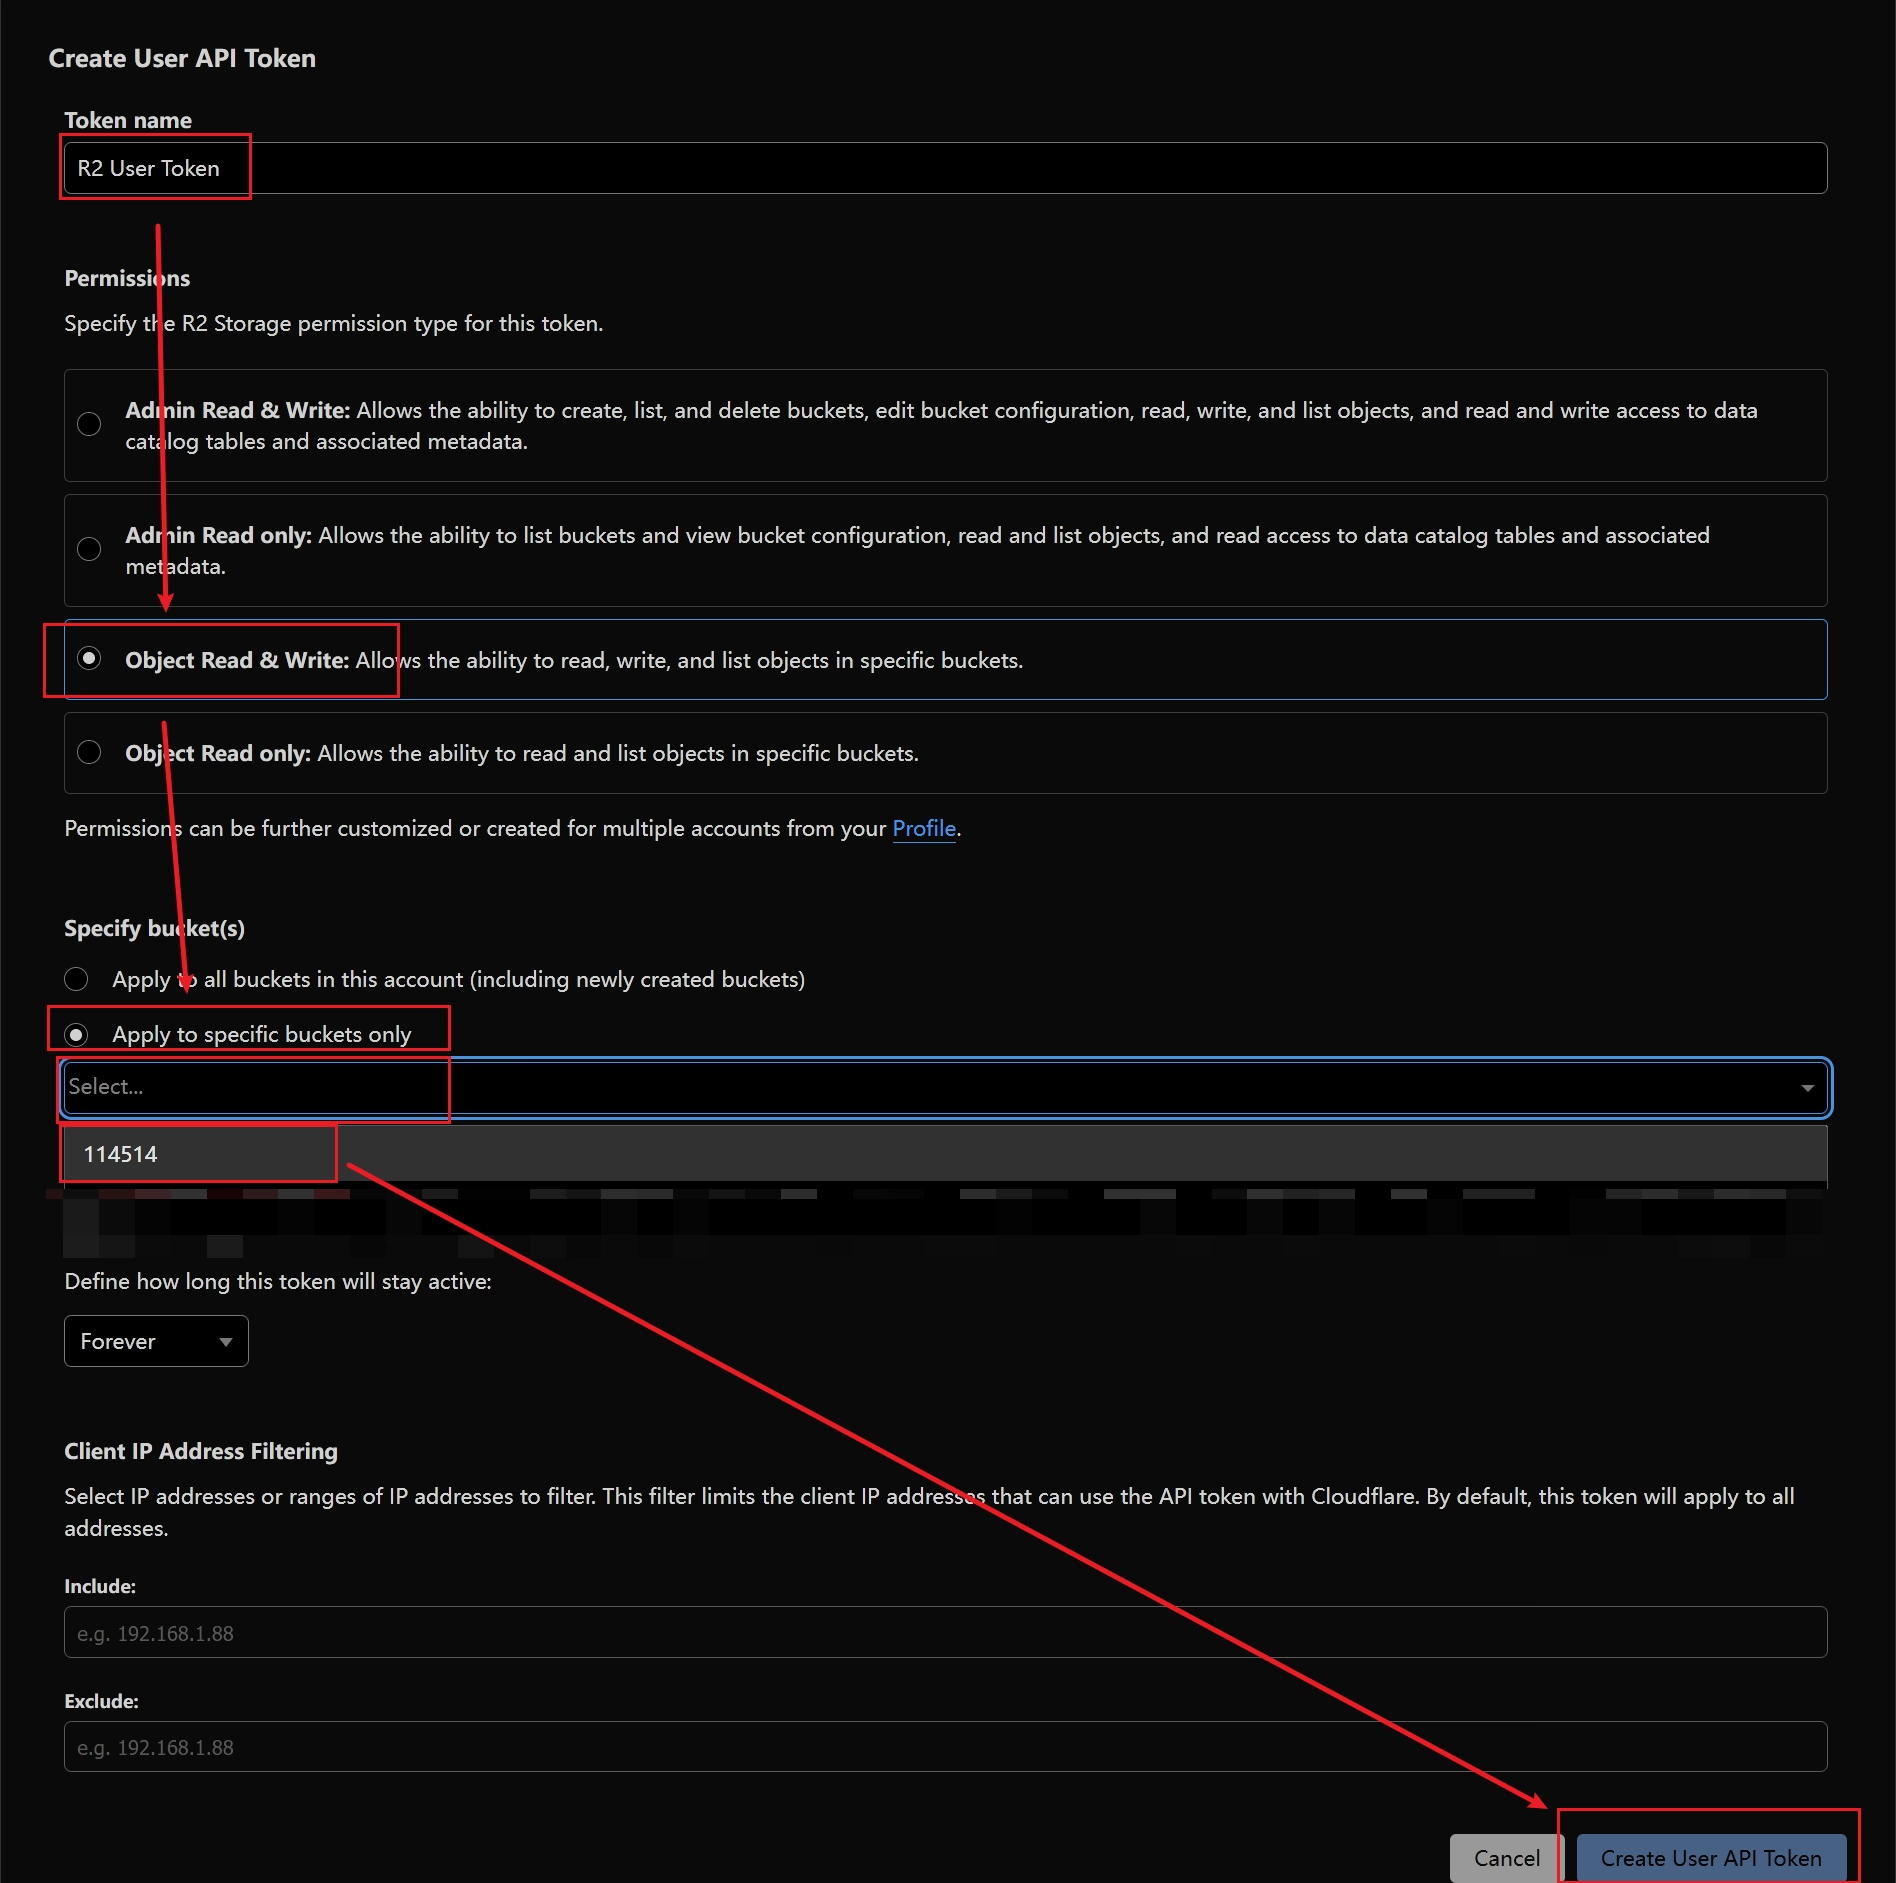
Click R2 Object Storage in the top-left corner to return to the R2 homepage, then click API on the right and select Manage API tokens. Click Create User API token, enter any token name, set permissions to Object Read & Write, specify the bucket by selecting Apply to specific buckets only, choose the bucket name from the dropdown (the same as the bucket value above), and finally click Create User API token.
Step 8
On the redirected page, locate the Access Key ID (to be used as access_key_id) and the Secret Access Key (to be used as access_key_secret). Finally, you should be able to compile the following configuration.

resource-pack:
  delivery:
    hosting:
      - type: s3
        endpoint: "4asd4sdas4ds5ds4.r2.cloudflarestorage.com"
        bucket: "114514"
        access_key_id: "asodjhadosdnoad"
        access_key_secret: "asd541faf5asd5fs15asdf45as"
        protocol: "https"
        path_style: false
        region: "auto"
        upload_path: "server_resource_pack.zip"
        disable_calculate_sha256: true
        validity: 10
        rate_map:
          max_requests: 5
          reset_interval: 20