⚔️ 装备
简介

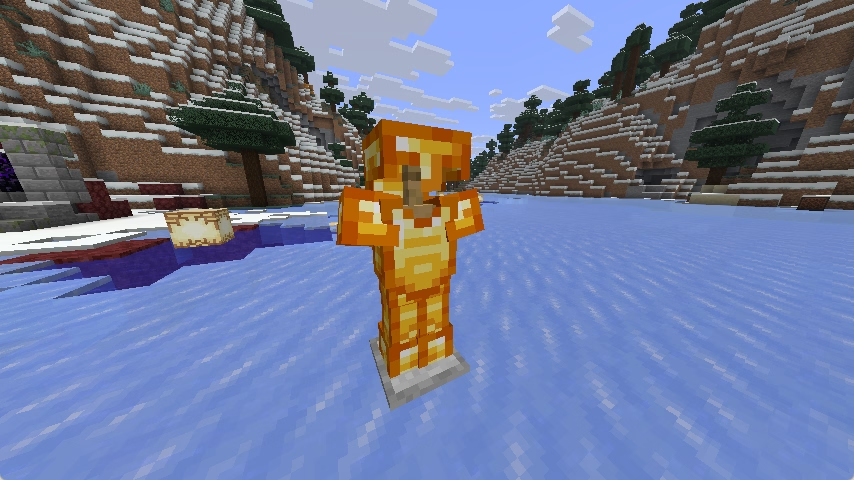
CraftEngine 提供两种创建自定义装备的方式:基于盔甲纹饰(适用于 1.20+ 版本)或使用可装备组件(1.21.2 新增)。
请注意以下均为装备配置,非物品具体设定。要将这些配置应用到盔甲物品,请参阅此文档。
items:
  my:custom_helmet:
    settings:
      equipment:
        asset-id: my:custom_armor
equipments:
  my:custom_armor:
    ...
关于 3D 头盔的说明:
3D 头盔的创建方法与装备完全无关。由于许多用户在创建 3D 头盔时遇到了困难,我将在此说明正确的创建方法,并澄清一些可能存在的误解。
3D 头盔原理
盔甲类物品天生带有 equippable 组件,其中包含一个名为 asset_id 的选项。当指定该选项时,Minecraft 会使用硬编码渲染器来渲染指定的盔甲纹理。这意味着即使你为基于钻石头盔的物品分配了自定义 3D 物品模型,玩家穿戴时仍会使用默认的盔甲渲染器进行渲染。
要解决这个问题,你必须禁用盔甲渲染器,以让头盔改用默认的物品渲染器。
解决方案1(适用于 1.21.2+ 版本):
重写 equippable 组件并移除 asset_id 选项。示例如下:
items:
  default:my_3d_helmet:
    material: diamond_helmet
    data:
      equippable:
        slot: head
解决方案2(适用于1.20+版本):
使用 client-bound-material 来修改头盔在客户端的渲染方式,而不影响其服务器端功能。示例如下:
items:
  default:my_3d_helmet:
    material: diamond_helmet
    client-bound-material: paper
基于组件
1.21.2+ 推荐equipments:
# 装备资源命名空间ID
default:topaz:
type: component
humanoid: "minecraft:entity/equipment/humanoid/topaz"
humanoid-leggings: "minecraft:entity/equipment/humanoid_leggings/topaz"
# 更多预设模型类型(根据需求添加)
happy-ghast-body: "minecraft:entity/equipment/happy_ghast_body/topaz"
支持的预设模型类型:
- humanoid
- humanoid-leggings
- wings
- wolf-body
- horse-body
- llama-body
- pig-saddle
- strider-saddle
- camel-saddle
- horse-saddle
- donkey-saddle
- mule-saddle
- skeleton-horse-saddle
- zombie-horse-saddle
- happy-ghast-body
- camel-husk-saddle
- nautilus-body
你也可通过配置块形式设置额外选项:
equipments:
  default:topaz:
    type: component
    humanoid:
      texture: "minecraft:leather"
      dyeable:
        color-when-undyed: -6265536 # 皮革染色配置
      # 鞘翅纹理配置
      use-player-texture: false
也可通过列表组合多个纹理,以下是两个示例:
equipments:
  custom:partialy_dyeable_armor:
    type: component
    humanoid:
      - texture: "minecraft:dyeable_part"
        dyeable:
          color-when-undyed: -6265536
      - texture: "minecraft:undyeable_part"
equipments:
  custom:red_flower_wreath:
    type: component
    humanoid:
      - texture: "minecraft:wreath"
      - texture: "minecraft:red_flower"
  custom:yellow_flower_wreath:
    type: component
    humanoid:
      - texture: "minecraft:wreath"
      - texture: "minecraft:yellow_flower"
  custom:white_flower_wreath:
    type: component
    humanoid:
      - texture: "minecraft:wreath"
      - texture: "minecraft:white_flower"
基于盔甲纹饰
1.20+ 盔甲纹饰不可用当 CraftEngine 移除原版盔甲基础纹理后,装备时将呈现完全透明状态。通过对其应用自定义纹饰即可实现自定义盔甲纹理。此方法仅存在一个限制——该盔甲后续无法再接受额外纹饰。
equipments:
  # 装备资源命名空间ID
  default:topaz:
    type: trim
    humanoid: minecraft:entity/equipment/humanoid/topaz
    humanoid-leggings: minecraft:entity/equipment/humanoid_leggings/topaz
修复被“破坏”的原版盔甲
你可以通过执行指令 /ce resource enable legacy_armor 来修复原版锁链甲)—— 我们通过应用特殊纹饰图案来保持原版锁链甲外观,这依托于 CraftEngine 独有的 client-bound-data 特性实现。
基于纹饰的盔甲仅支持 humanoid 和 humanoid-leggings 模型类型。如果你遇到盔甲无法正确应用纹理或是被踢出服务器的问题,请尝试重新进入服务器,如果无法解决则是配置存在问题。
基于核心着色器
CraftEngine 目前不打算实现基于核心着色器的自定义盔甲。这种方法本质上会依赖皮革盔甲作为基础,这在使用第三方着色器时会失效——尽管它确实提供了纹饰兼容性。然而,考虑到截至 2025 年,超过 90% 的服务器都已运行 1.21.2+ 版本,此功能可能永远不会实现。